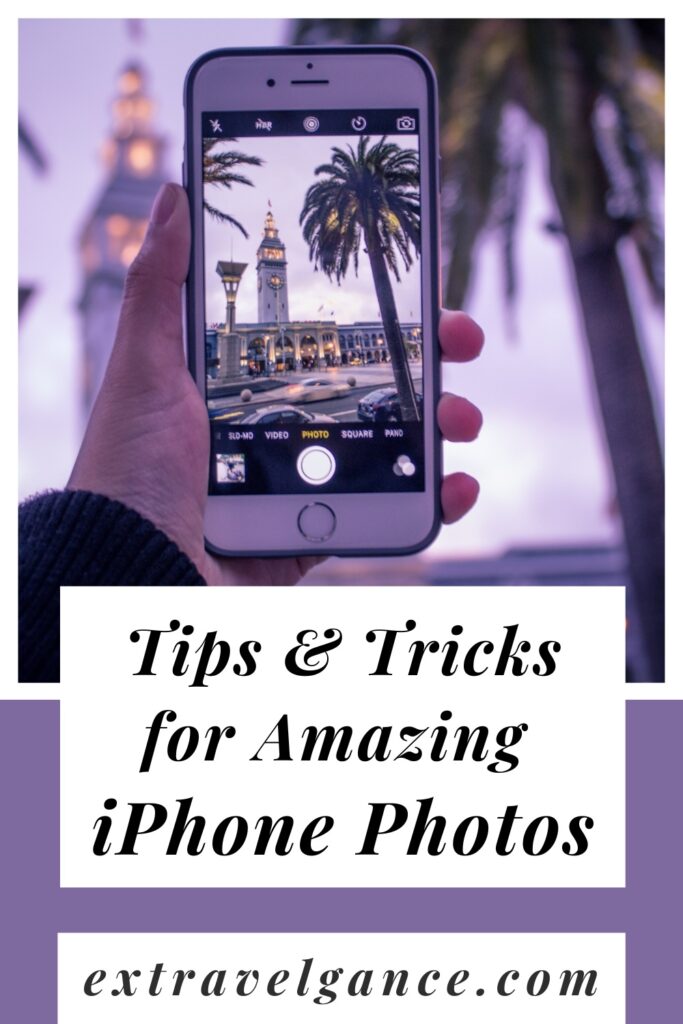
In the age of smartphones, the iPhone stands out as a powerful tool for photography. These little devices that we are already glued to boast excellent camera capabilities. Despite this, I take terrible pictures! Therefore, I made it a goal this year to take an iPhone photography class and learn tips and tricks to take better photos. Honestly, the information out there was overwhelming, but here are the primary tips I took away from my quest.
Note: We may earn a small commission from the affiliate links below.
Keep Your Camera Still!
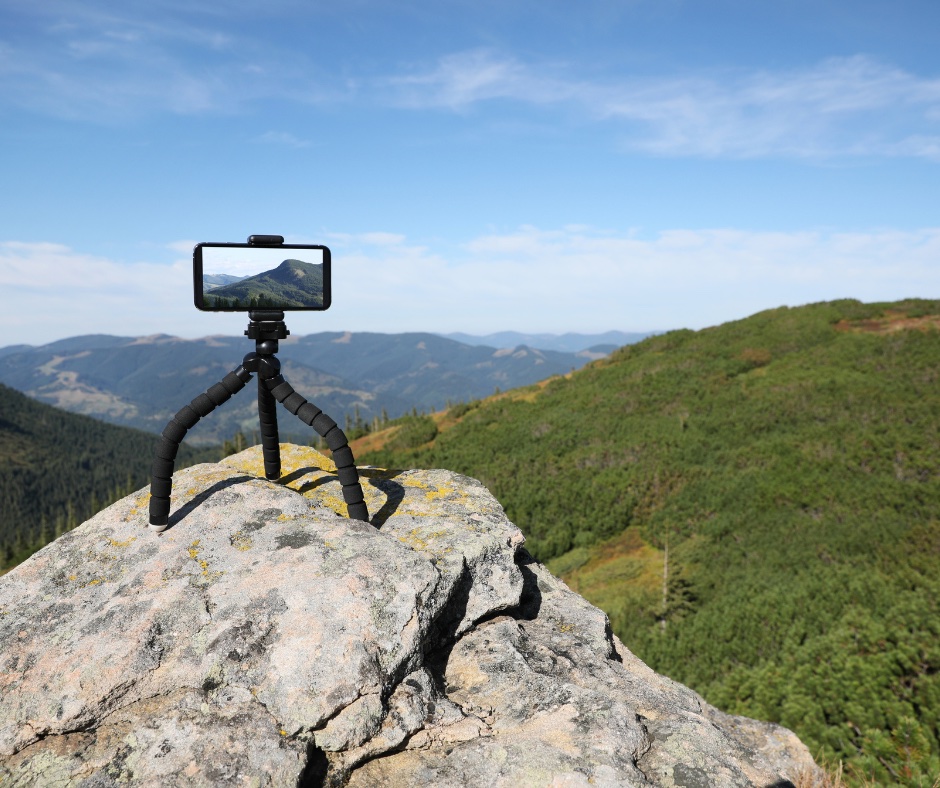
This seems obvious – but it is one of the most frequent problems of iPhone photography. What do we all do when we go to take iPhone photos? We hold our camera out away from our bodies and balance it with our fingertips! Instead, we should hold our phones close to our bodies and use our full hand to steady it. This takes a bit of getting used to, but it does work.
Whenever possible, we should actually use a tripod to ensure the phone stays as still as possible. This handy selfie-stick doubles as a tripod for those moments I have plenty of time to capture a moment correctly. Planning to use the selfie-stick to actually take a selfie? Then use it at a short length. We typically only need but a few extra inches to capture that all important close-up of our faces.
Understand and Utilize Basic iPhone Camera Features
Lens Options
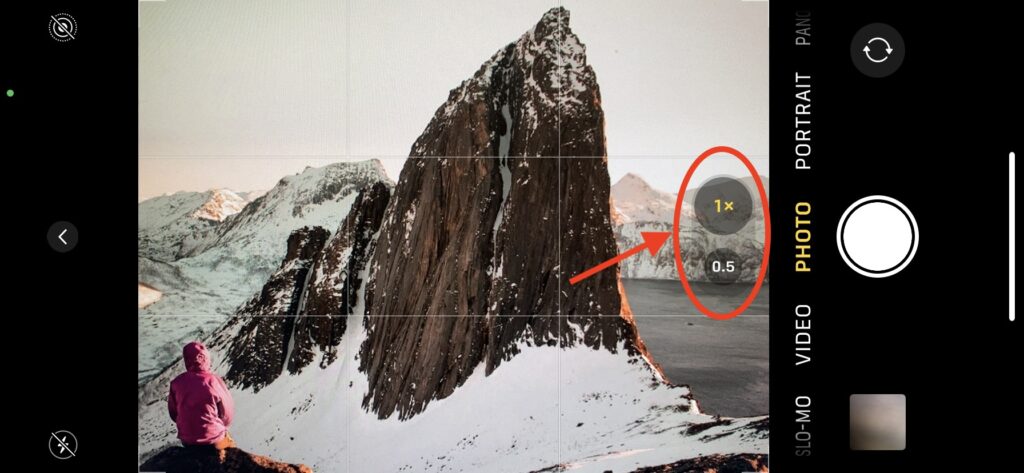
Most standard iPhones come with .5 and a 1x lenses. From there you can zoom in to get a little closer to your subject. I know it is tempting, but don’t zoom in too much. Once you get to 3x you are losing more quality than you are gaining and it is better to wait until the editing process and crop the photo. If you have an iPhone Pro, you have a 3-5x lens. This option is awesome when capturing things in a distance.
We all tend to think about the need to zoom in, but more importantly, we should rejoice in the ability to zoom out! Sometimes the best setting is the one that allows a little more background around the subject. But honestly, the most important time to utilize the .5 setting is when taking a selfie. Using the .5 setting is like having a short selfie stick built into the phone. This setting makes it much easier to actually capture a bit of scenery along with your stunningly beautiful face.
Grid Lines
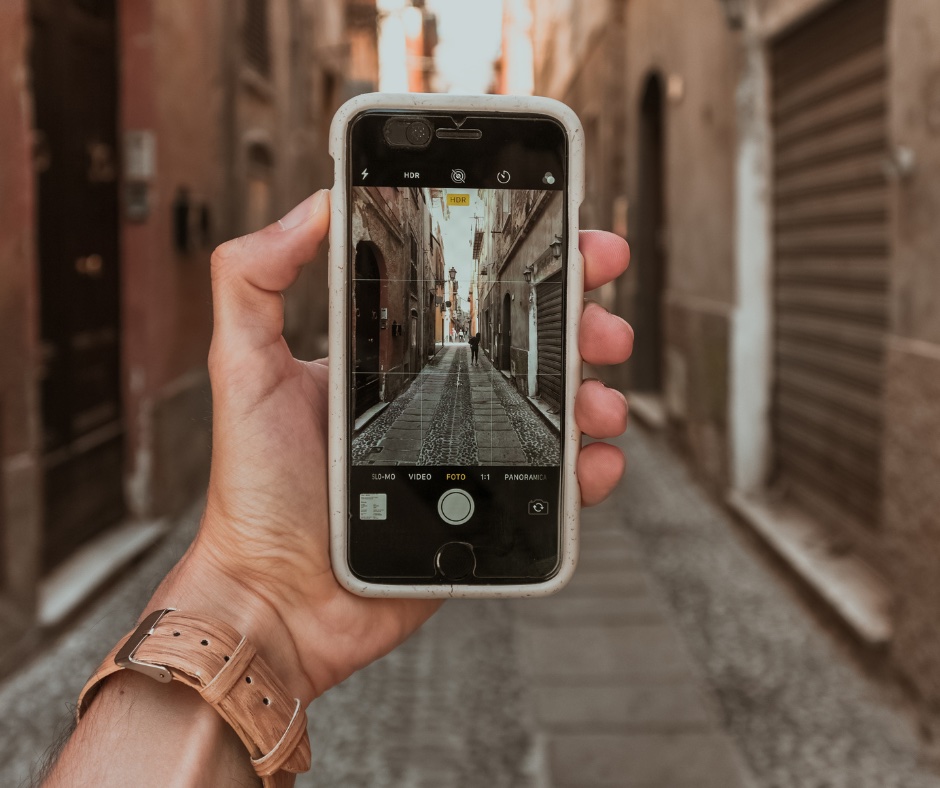
Enable the grid lines in your camera settings to assist in aligning and balancing your shots. Utilize the rule of thirds for a more pleasing and balanced composition. The rule of thirds is when you place the primary subject of your photo in the right or left third of the image and leave the rest more open.
Portrait Mode
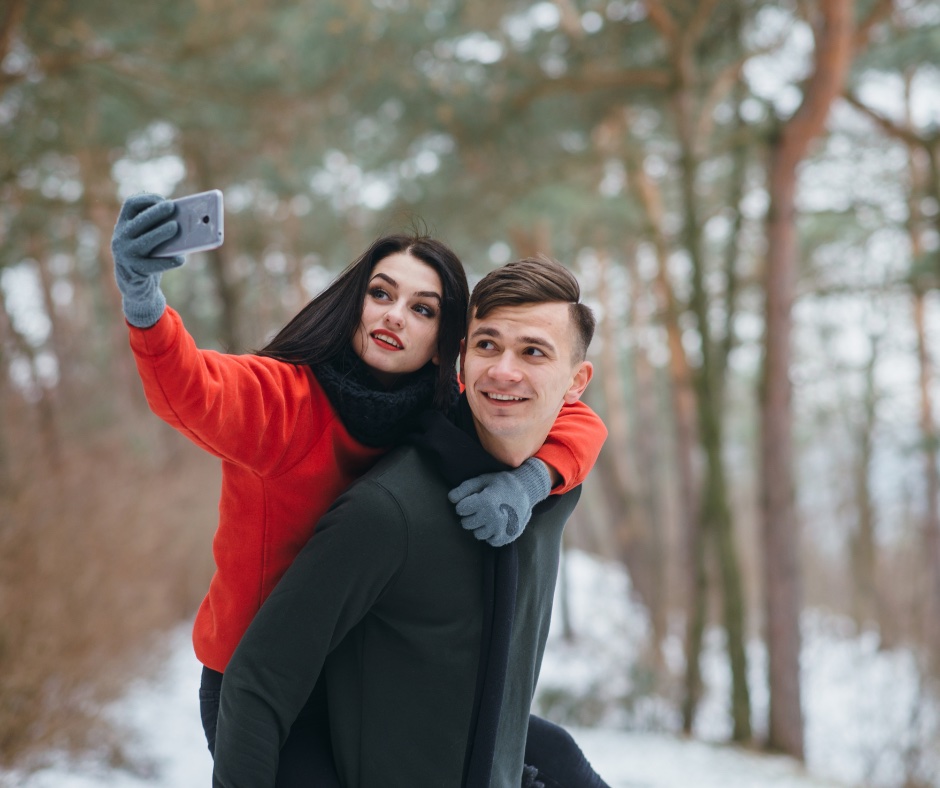
Use Portrait mode for a beautiful effect that enhances your subject by blurring the background. That said, if you are taking a selfie and want the image behind you to remain clear, then avoid portrait mode.
Focus and Exposure
Tap on the screen to adjust the focus and exposure of your shot. Experiment with different focal points to find the most appealing composition.
Optimize Lighting for Better Shots
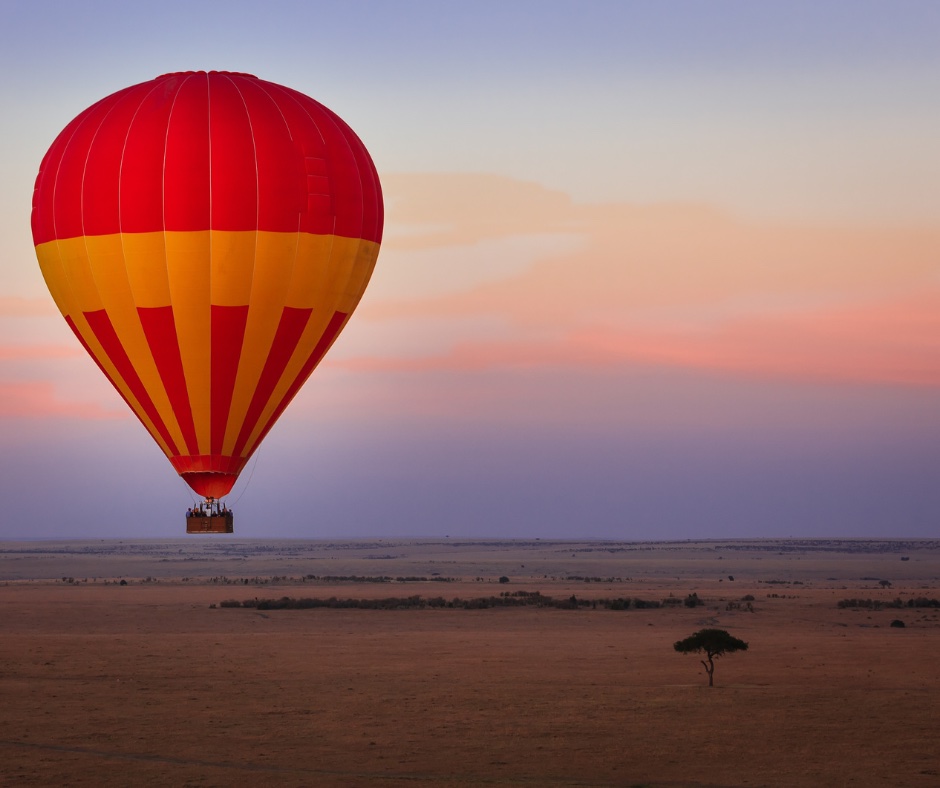
Use natural light to create the best iPhone photos. Whenever possible, shoot during the “golden hour” shortly after sunrise or before sunset for warm and appealing light. Also, when you can, position your subject to avoid harsh shadows, especially in midday sunlight. Overcast days or shaded areas can provide even lighting and minimize shadows. All that said, you don’t always have these options when traveling, so just do the best you can.
Keep in mind that the iPhone flash can be too harsh for some photos. In fact, it is rarely needed – even indoors. To avoid using it unnecessarily, adjust the flash to auto. Your iPhone is smart enough to know when the flash isn’t needed.
Edit Your iPhone Photos
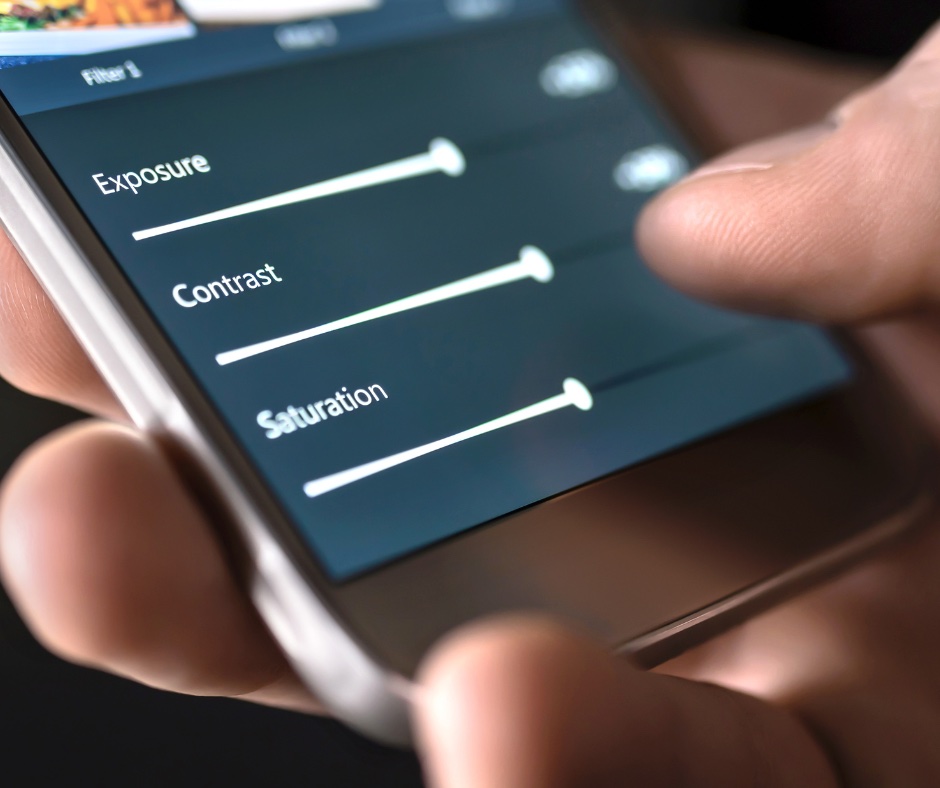
Explore various photo editing apps available for iPhone, such as Adobe Lightroom Mobile, Snapseed, or VSCO. These apps offer a wide range of tools to enhance your images, adjust exposure, contrast, color balance, and more. I like Snapseed because it is easy to use. Check out this great post on using Snapseed! Consider doing the following edits:
- Fine-tune exposure and contrast to ensure your image is well-balanced and visually appealing.
- Straighten horizons and lines to give your photo a polished look.
- Crop your image to eliminate distractions and improve the composition.
- Experiment with different filters and presets to add a unique style to your photos. However, use them judiciously to maintain a natural and authentic feel.
Experiment with Different Perspectives
Get down low to capture a different perspective, especially for subjects like pets, children, or flowers. This angle often adds interest and uniqueness to your images.
Capture overhead shots by holding your iPhone directly above the subject. This perspective can offer a fresh and intriguing view of the scene.
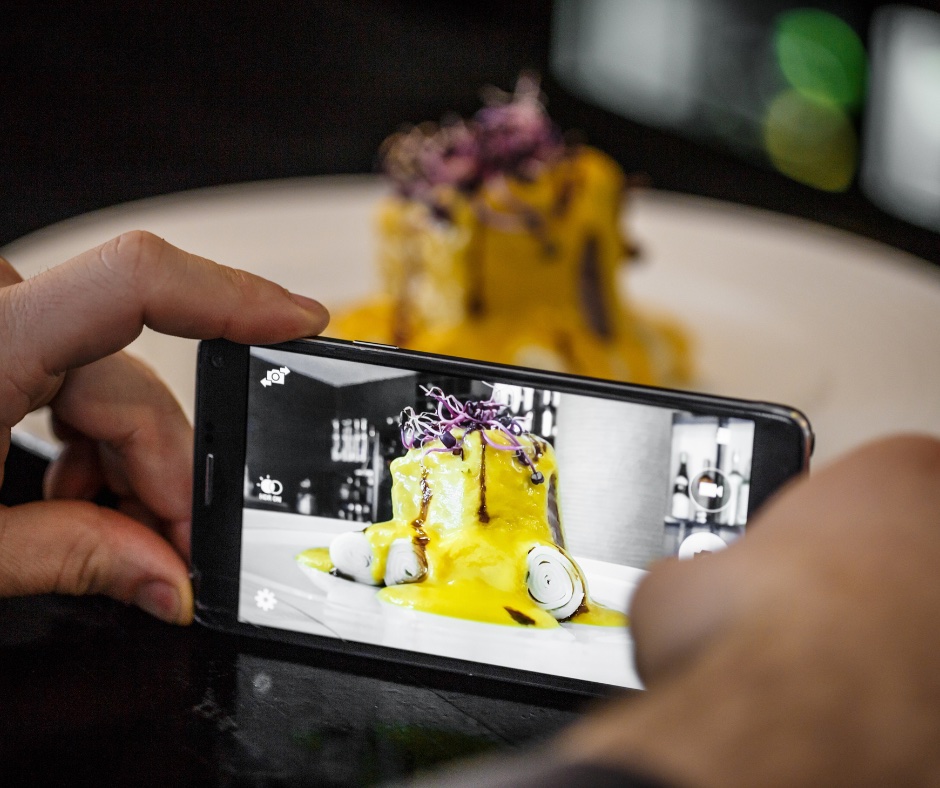
Experiment with close-up shots to focus on intricate details. Use the iPhone’s tap-to-focus feature to ensure clarity of the subject.
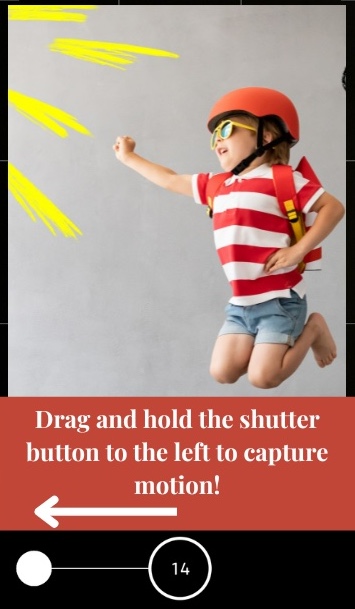
Capture Motion
Use burst mode by pressing and dragging the shutter button to the left to capture a series of shots quickly. This is excellent for capturing fast-moving subjects and ensuring you get the perfect shot.
It is also a great way to end up with a million iPhone photos in a very short period of time. So be sure to select the one or two photos from the set that you like and delete the rest. You can do this by clicking on the photo series and hitting “select.” Then check the ones you want to keep and hit done. You will be asked if you want to keep everything, keep only your marked favorites, or cancel. Select keep your favorites and the rest will be deleted.

Are You Ready To Master Your iPhone to Take Great Photos?
Experiment with different settings, lighting conditions, and composition techniques to find what works best for your style. Need a place to practice your new skills? Plan a Trip!
Tell us what you think below in the comments. You can also contact us and follow us on Facebook, Instagram and Pinterest so you never miss a post!

Pingback: What to Pack for an Amazing Alaskan Cruise - Extravelgance
Pingback: How to Pack for an Unforgettable European River Cruise - Extravelgance